Noise complaints are one of the most common regrets in new homes and apartments. The toilet you can hear from the lounge, the bedroom that shares a wall with the media room, the neighbour's television coming through an intertenancy wall.
Almost all of it is preventable at construction stage for a fraction of what it costs to fix afterwards. This guide explains how to soundproof internal walls in the order that delivers the most benefit per dollar, based on what we install for clients at MYT Buildings Solutions across Adelaide.
The four principles behind how to soundproof internal walls
Every genuine acoustic solution uses at least one of these four mechanisms. The effective ones use all four together, which is why isolated product upgrades so often disappoint.
- 1Mass. Heavy materials are harder for sound to vibrate through. This is why a dense wall outperforms a light one of identical construction.
- 2Absorption. Soft fibrous material inside the cavity absorbs sound energy instead of letting it resonate in the void.
- 3Sealing. Sound travels through air, so any gap is a direct path. An unsealed gap can undo the benefit of everything else in the wall.
- 4Decoupling. Breaking the physical connection between wall faces stops vibration carrying straight through the structure.
The Australian Building Codes Board publishes a detailed handbook on sound transmission and insulation in buildings if you want the technical treatment behind these principles.
Step one: acoustic insulation in the wall cavity
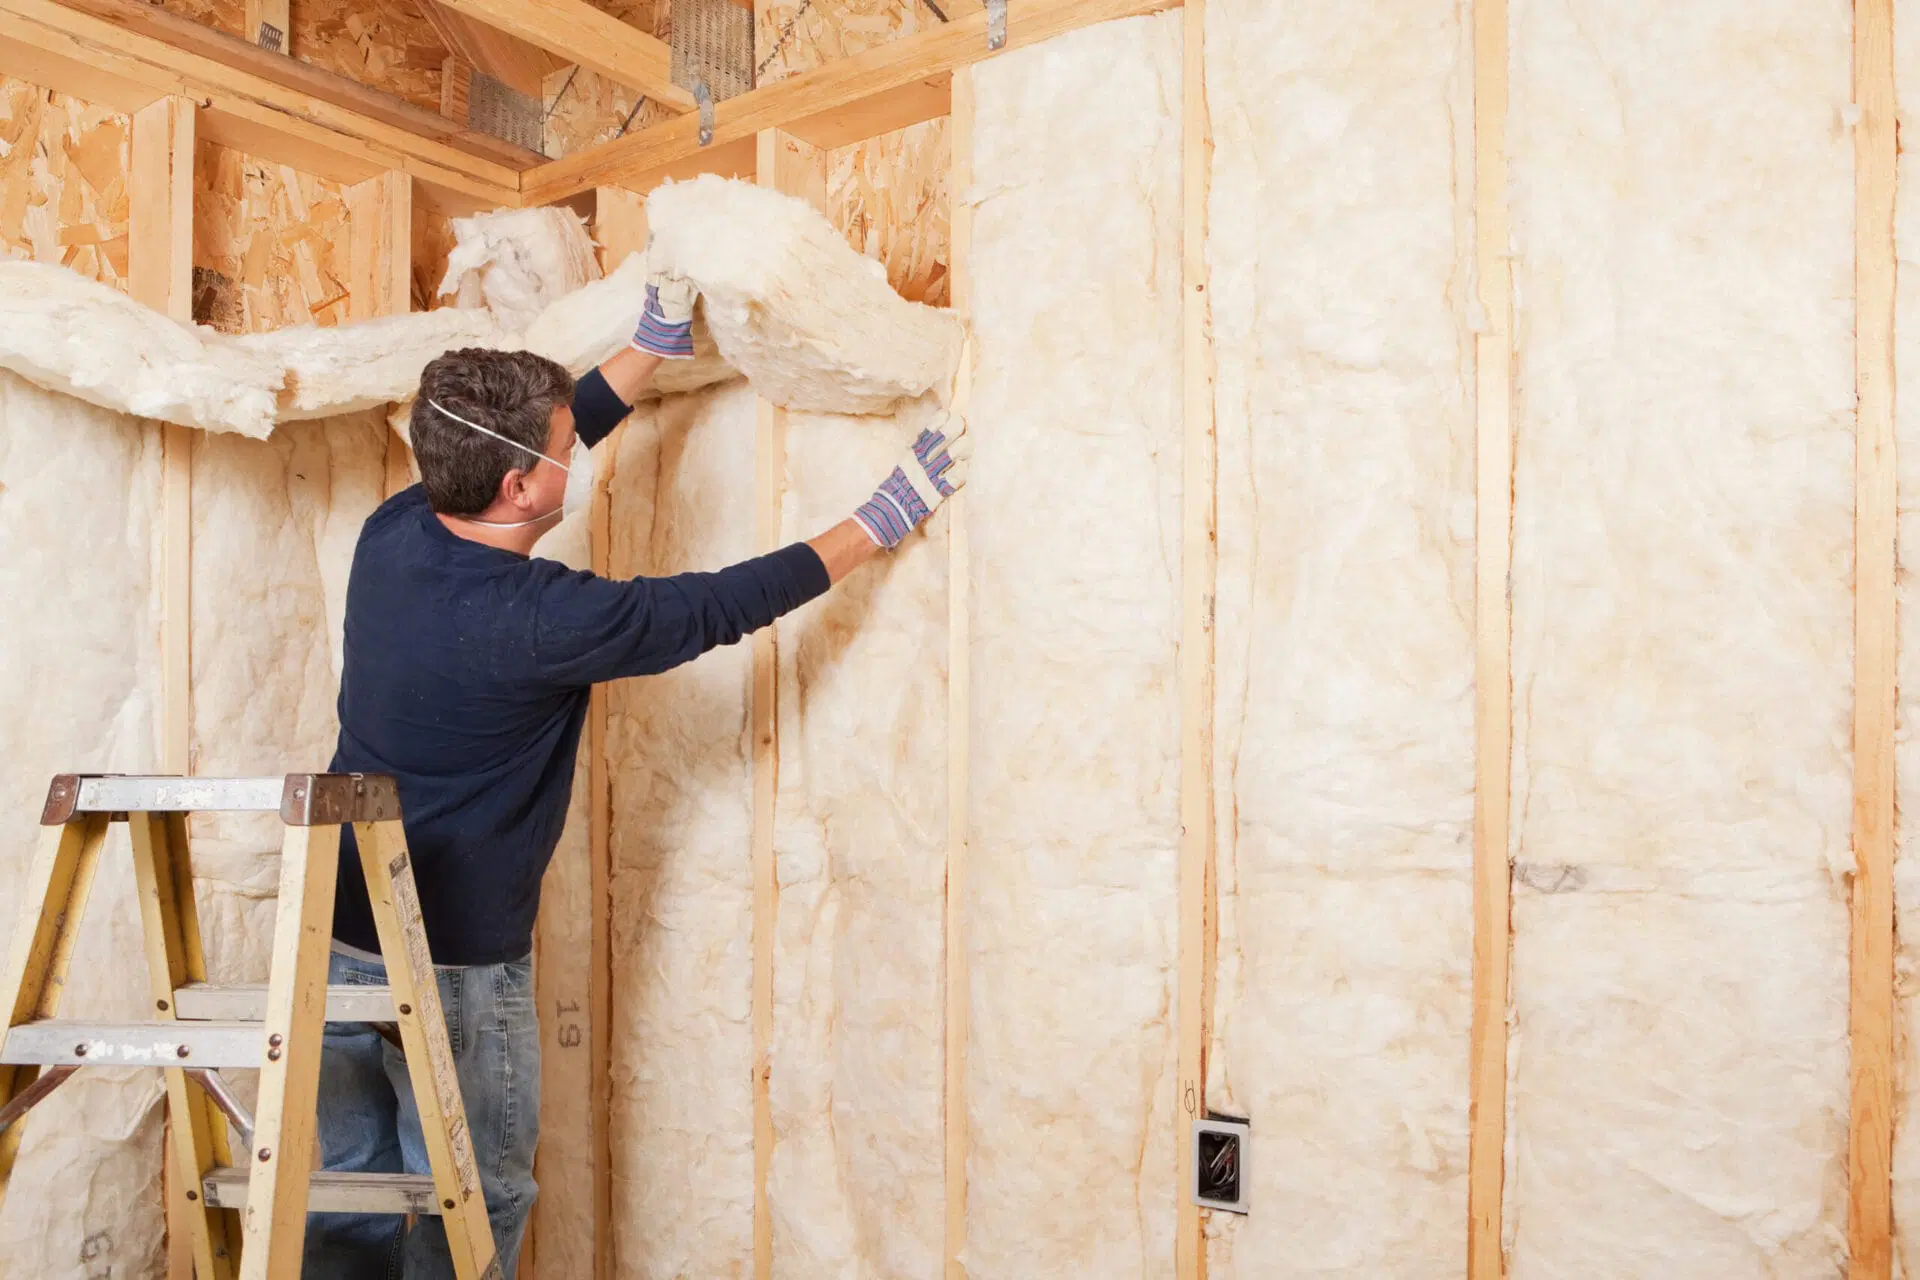
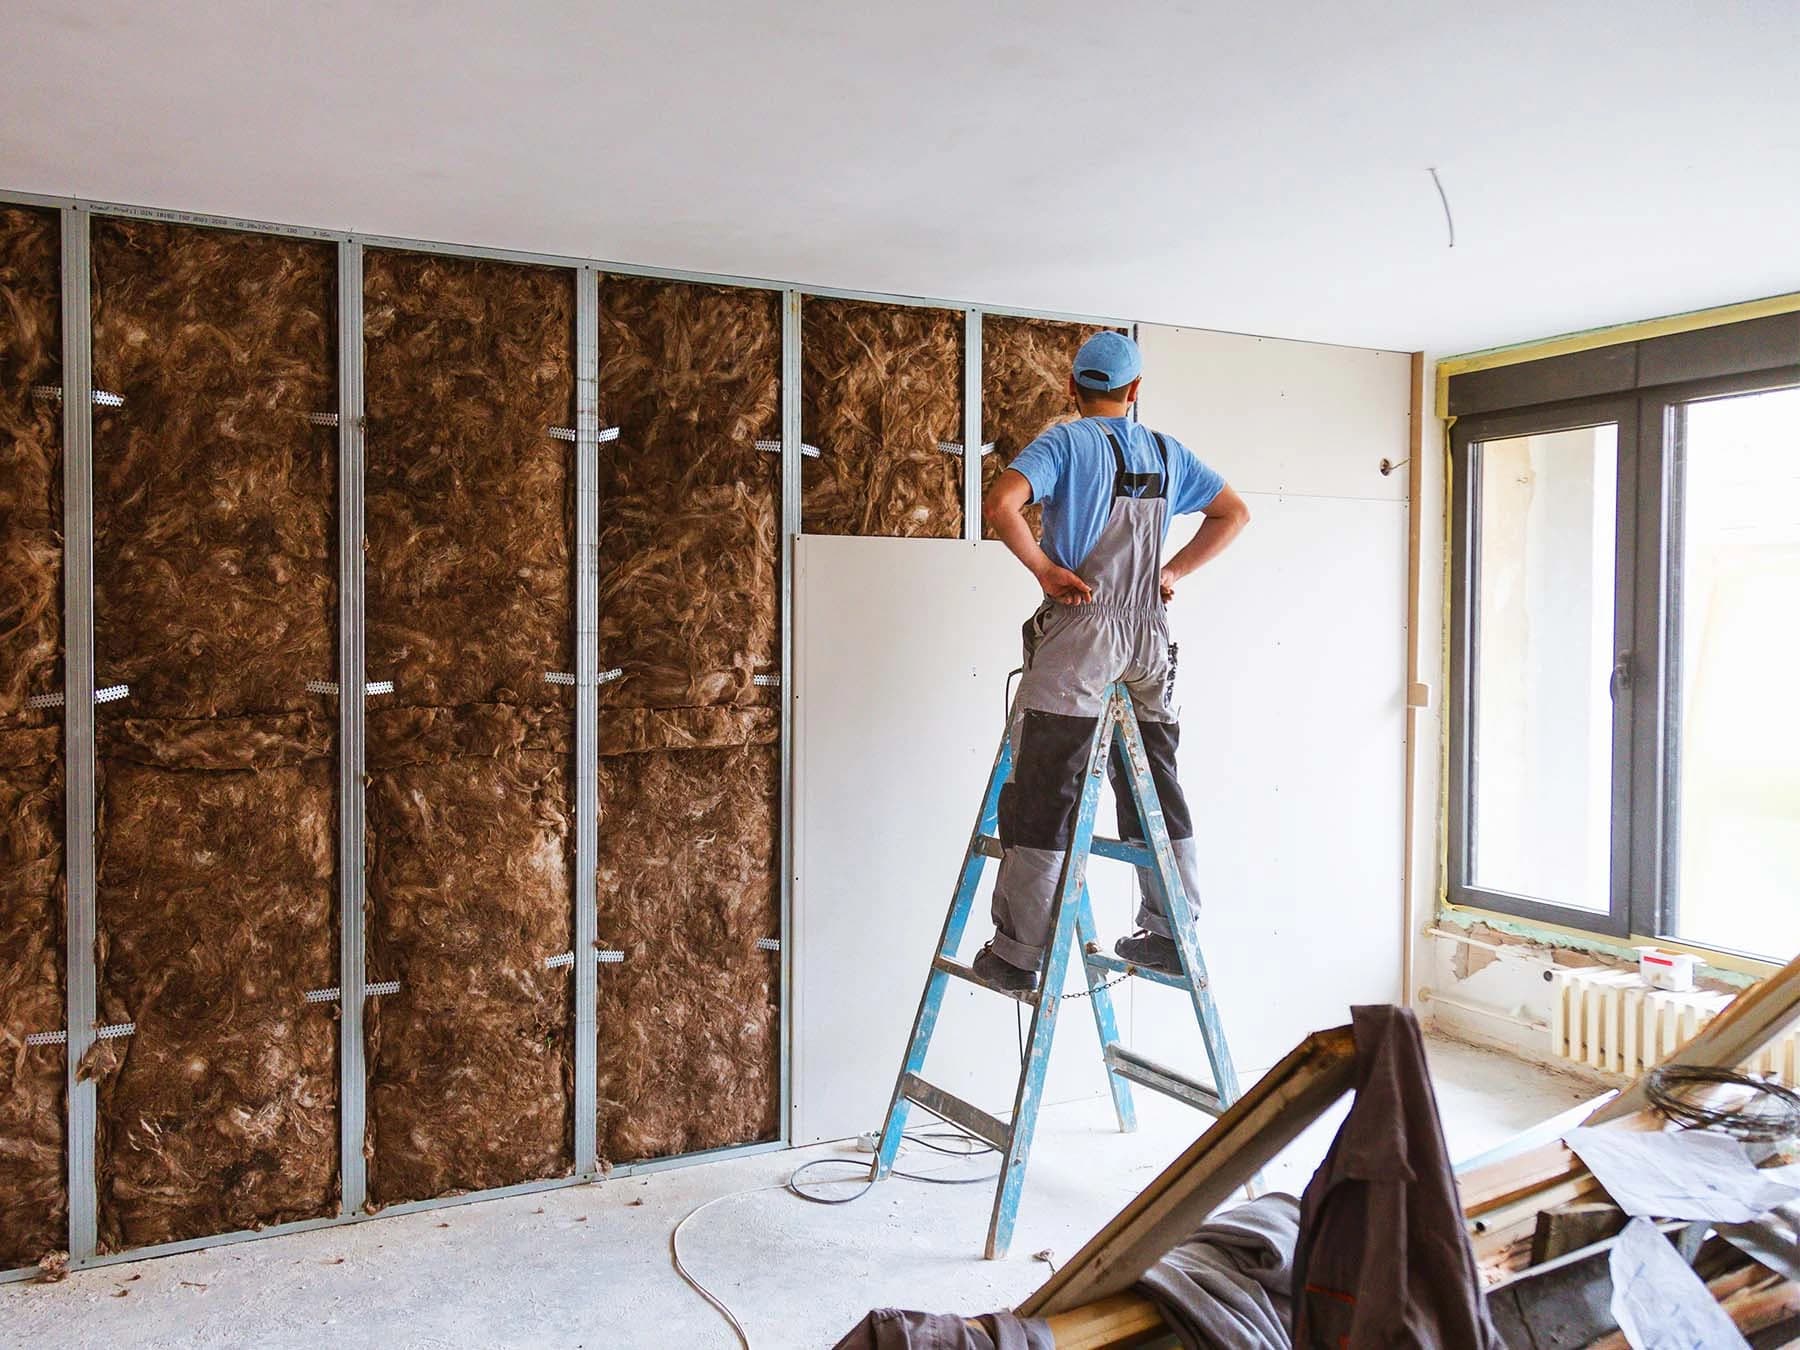
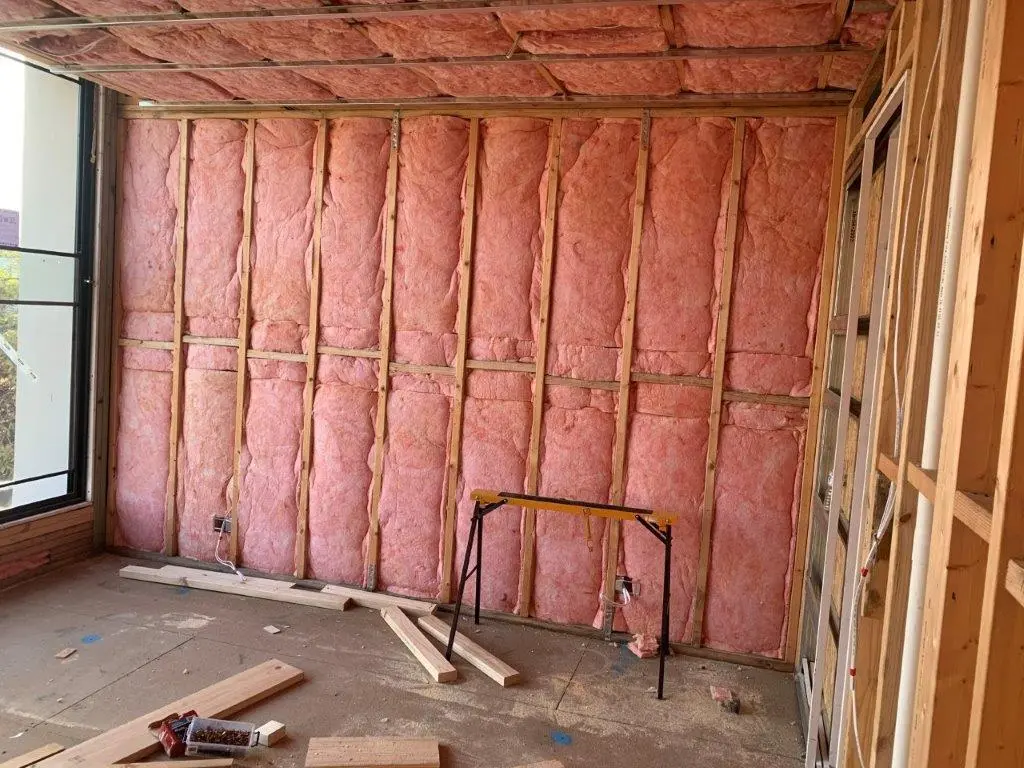
This is the highest value step for internal walls, and the cheapest to do while the frame is open. Acoustic batts are denser than thermal batts, typically 60mm, 75mm or 90mm, and engineered to absorb sound energy rather than resist heat flow.
An empty stud cavity is effectively a drum. Filling it changes the character of what comes through: the sharp intelligibility of speech drops away, which is usually exactly what people mean when they say they can hear the next room. You may still detect that someone is talking, but you stop being able to follow the conversation, and that is the difference between annoying and acceptable.
Step two: add mass with denser lining board
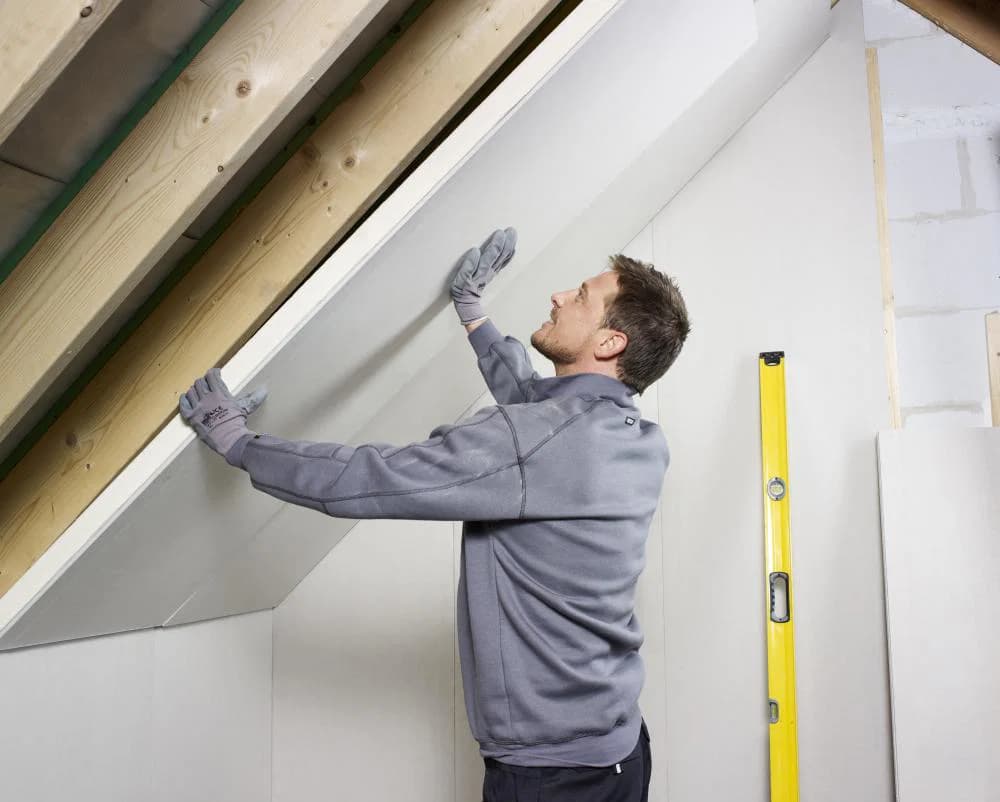
Acoustic plasterboard is heavier than standard board and supplies the mass component. Using it on both faces of a wall roughly doubles the benefit compared with treating one side only. On critical walls, a double layer with staggered joints performs better again.
This is where our Plasterboards and Insulation Solutions services overlap, and it is why we prefer to quote acoustic walls as a complete assembly rather than as separate line items that may not add up to a working result.
Step three: sealing, the step everyone skips
This is where most well intentioned soundproofing fails. You can install the best batts and the densest board available, then lose most of the benefit through an unsealed 5mm gap at the floor line.
- Seal the wall perimeter, both top and bottom plates, with acoustic sealant rather than standard gap filler.
- Seal around power points and switches, and avoid placing them back to back in the same cavity.
- Seal penetrations for pipes, ducting and cabling.
- Do not stop a wall at the ceiling lining if the noise path continues through the roof space above it.
Acoustic sealant stays permanently flexible rather than curing hard, so it maintains the seal as the building moves and settles. Ordinary gap filler cracks within a couple of seasons and quietly reopens the path you paid to close.
Step four: decoupling for serious separation
Where a wall is rigidly connected face to face, vibration travels straight through the studs regardless of what sits in the cavity. Staggered stud walls, separate frames, or resilient mounting channels break that path.
This is standard practice on intertenancy walls in apartments and townhouses, where the National Construction Code sets minimum acoustic performance between dwellings. For a home theatre, a music room or a bedroom against a genuinely noisy space, it is worth the additional wall thickness.
What does not work when soundproofing walls
- Egg cartons and foam tiles. These change how a room sounds internally. They do almost nothing to stop sound passing through a wall.
- Thicker paint or wallpaper. No meaningful mass is added, so no meaningful benefit results.
- Heavy furniture against the wall. Marginal at best, and it does nothing about the gaps.
- Thermal batts as a substitute. Better than an empty cavity, but noticeably less effective than purpose made acoustic batts of the correct density.
The distinction most people miss is between sound absorption and sound insulation. Acoustic foam absorbs reflections inside a room, which is useful in a recording studio where you are controlling echo. It does not stop sound crossing a wall, which is what you actually want when the problem is the room next door.
How to soundproof internal walls in an existing home
Everything above assumes an open frame. If your walls are already lined and painted, the economics change but you are not out of options.
The most effective retrofit that does not involve demolition is adding a second layer of dense board over the existing lining, then sealing the perimeter with acoustic sealant. You lose a little room width, and skirting, architraves and power points need adjusting, but you add real mass without opening the wall. On a single problem wall this is often the sensible compromise.
If the wall is coming off anyway for other work, take the opportunity. Once a frame is exposed, adding acoustic batts is inexpensive and you will never have a cheaper chance to do it. This is why we always ask renovation clients which rooms are noisy before the linings go back on.
Before spending anything, identify the actual path. People often treat a wall when the sound is arriving through a shared roof space, under a door, or through back to back power points. Sealing a gap costs almost nothing and occasionally solves the whole problem on its own.
What it costs to soundproof internal walls
During construction, acoustic treatment is one of the cheapest upgrades available. Acoustic batts and sealant on a standard internal wall add a modest amount to the build, and upgrading to acoustic board on both faces adds a little more. Against the total cost of a new home it is close to a rounding error, and it is permanent.
Retrofitting costs several times more for the same result, because you are paying for removal, disposal, patching, sanding and repainting on top of the materials. That multiplier is the entire argument for making the decision early, and it is the reason this article recommends acting while the frame is open rather than promising a cheap fix later.
Which walls to prioritise in a typical home
| Wall | Why it matters |
|---|---|
| Bedroom to living area | The most common complaint in open plan homes. |
| Bathroom or ensuite to living space | Plumbing and fan noise carries further than people expect. |
| Media room or home theatre | Both directions: keeping sound in and keeping it out. |
| Home office | Increasingly important, and inexpensive to address during construction. |
| Laundry | Machines on spin cycle transmit strongly through light walls. |
| Intertenancy walls | A compliance requirement, not a preference. |
If you treat only two walls in a new home, make them the bedroom wall and the bathroom wall. Those two account for the overwhelming majority of the noise complaints we hear about after handover.
Frequently asked questions
Yes, noticeably, particularly for speech. Filling the cavity with dense acoustic batts absorbs sound energy that would otherwise resonate in the void. The result improves further when combined with denser lining board on both faces and proper perimeter sealing with acoustic sealant.